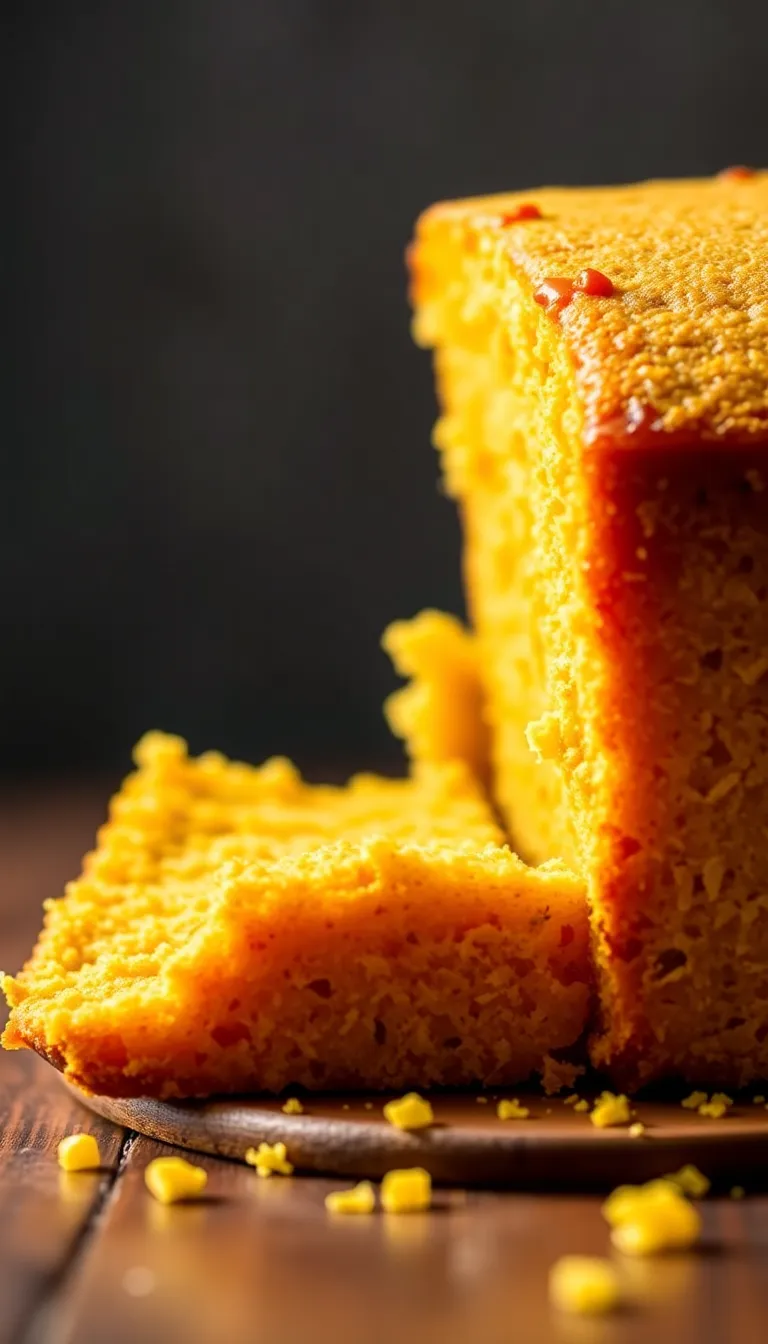
Picture this: golden, buttery, slightly crumbly cornbread with a crispy edge and a tender middle. The kind that makes you forget you ever bought the boxed mix. This isn’t just cornbread—it’s the cornbread that’ll ruin all other cornbread for you.
Why settle for dry, flavorless bricks when you can have perfection in 30 minutes? No fancy skills required. Just a bowl, a spoon, and the willingness to never go back to subpar sides again.
Why This Recipe Works

This recipe nails the balance of sweet and savory, with a texture that’s moist but not dense.
The secret? Buttermilk for tang and tenderness, and a hot cast-iron skillet for that irresistible crispy crust. It’s forgiving, adaptable, and consistently delicious—even if your cooking skills peak at microwaving leftovers.
Ingredients
- 1 cup cornmeal (fine or medium grind)
- 1 cup all-purpose flour
- 1/4 cup granulated sugar (adjust to taste)
- 1 tbsp baking powder
- 1/2 tsp baking soda
- 1/2 tsp salt
- 1 cup buttermilk (or substitute, see Alternatives)
- 1/2 cup unsalted butter, melted
- 1 large egg
Step-by-Step Instructions
- Preheat your oven to 400°F (200°C). Toss a 9-inch cast-iron skillet in there to heat up. Cold skillet = sad, soggy crust.
- Whisk dry ingredients. Cornmeal, flour, sugar, baking powder, baking soda, and salt in a large bowl.
No clumps allowed.
- Mix wet ingredients. In another bowl, combine buttermilk, melted butter, and egg. Whisk until smooth.
- Combine. Pour wet into dry and stir until just mixed. Overworking = tough cornbread.
Don’t do it.
- Bake. Carefully pull the hot skillet out, add a dab of butter to coat, then pour in the batter. Bake for 20-25 minutes until golden.
- Cool slightly. Let it rest for 5 minutes. Yes, it’s hard.
No, you shouldn’t skip this step.
Storage Instructions
Store leftover cornbread in an airtight container at room temp for 2 days or in the fridge for up to 5. Reheat in a toaster oven or microwave (though the skillet-toasted version is superior, IMO). For long-term storage, freeze slices wrapped in foil for up to 3 months.
Why This Recipe Is a Game-Changer

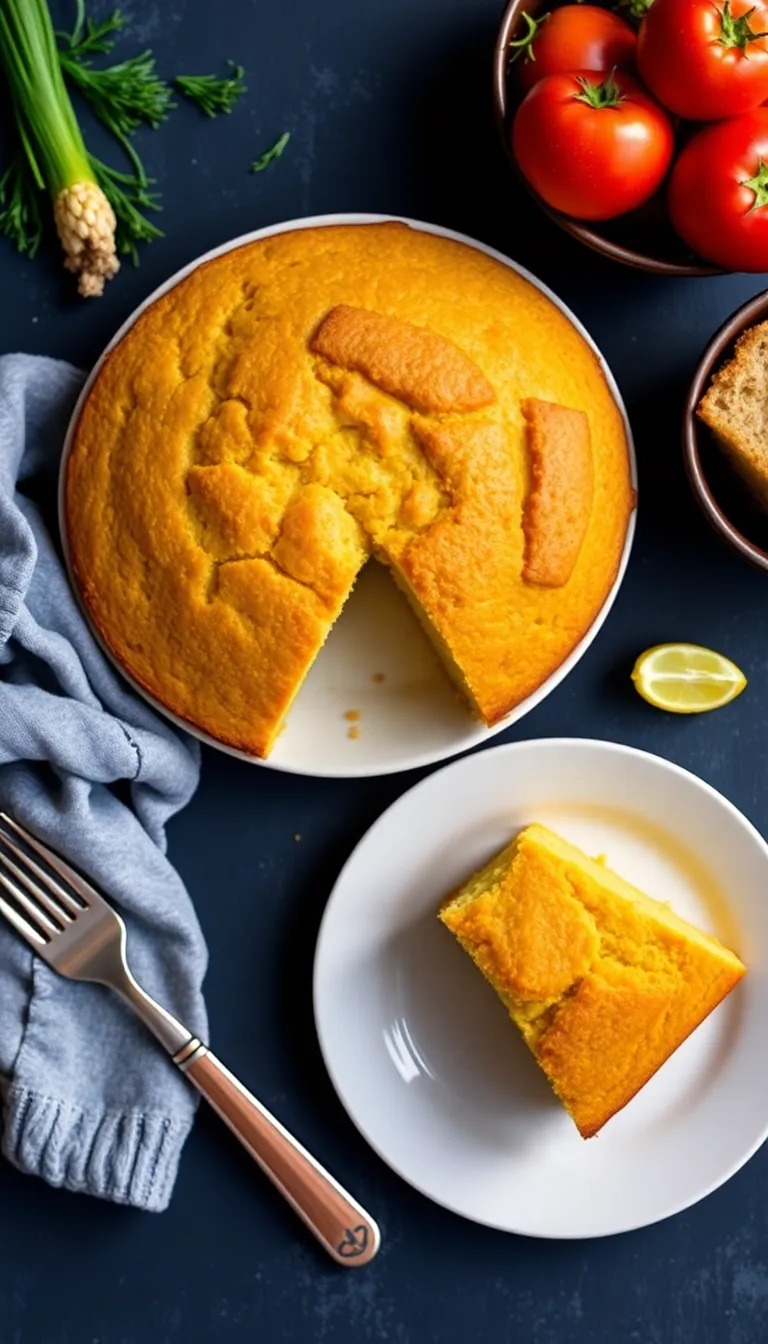
It’s fast, foolproof, and works as a side, snack, or base for chili.
The buttermilk keeps it moist for days, and the skillet method guarantees that crispy edge everyone fights over. Plus, it’s cheap. A homemade batch costs less than that boxed mix you’ve been guilt-buying.
Common Mistakes to Avoid
- Overmixing the batter. Lumps are fine.
Tough cornbread isn’t.
- Using a cold skillet. The sizzle when the batter hits the pan is non-negotiable.
- Skimping on fat. Low-fat buttermilk or margarine? This isn’t the 90s.
- Overbaking. A toothpick should have crumbs, not come out clean.
Alternatives
No buttermilk? Mix 1 cup milk + 1 tbsp vinegar and let it sit for 5 minutes.
Vegan? Swap butter for oil and use a flax egg. Want jalapeños or cheese?
Throw them in. Cornbread is a vibe, not a dictatorship.
FAQs
Can I use a baking dish instead of a cast-iron skillet?
Yes, but you’ll miss out on the crispy crust. If you must, preheat the dish with a bit of oil before adding the batter.
Why is my cornbread dry?
You overbaked it or overmixed the batter.
Next time, set a timer and walk away.
Can I make this gluten-free?
Swap the all-purpose flour for a 1:1 gluten-free blend. FYI, the texture might be slightly denser.
How do I know when it’s done?
The edges pull away from the skillet, and a toothpick has a few moist crumbs. If it’s clean, you’ve gone too far.
Final Thoughts
This cornbread recipe is the culinary equivalent of a mic drop.
It’s easy, adaptable, and so good it’ll make you question every other version you’ve tried. Bake it once, and you’ll never go back. Now go preheat that skillet.